
Hair extensions could easily be listed as one of the world’s greatest innovations when it comes to serving beauty! We no longer have to wait for our hair to grow longer by the day. With hair extensions, we can have the length and volume of our dreams while also protecting our natural hair at the same time!
The most difficult part is choosing the best technique, depending on what you want to achieve. But, fear not! We have the full lowdown on hair extensions from hair extension expert Margaret, owner and founder of Margaret’s Hair Extension’s salon in Sacramento, and the most-used you definitely want to know about!
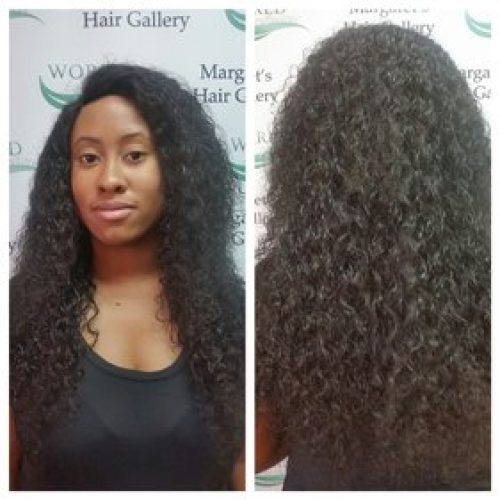
Note: Margaret only uses the finest virgin Indian Remy hair for its superior quality and impressive results.
Before-we-Begin Advice:
It is always recommended to invest in high-quality, Remy human hair (also referred to as Remy Hair or Virgin Hair). The best in the market is Indian hair extensions for more reasons than one. You may pay a few extra dollars but it’s definitely worth it. For starts, Remy hair extensions last longer than anything synthetic. That aside, they don’t mat or tangle, which is also a huge issue with low-quality hair. Just know exactly how long you want your extensions to be because the longer they are, the more expensive.
About caring for your virgin Remy hair extensions, here are some useful tips to get you started!
The most popular hair extension application techniques
1. Skin Weft
The hair extensions sandwich your natural hair. A flat iron helps seal the extensions together with your hair. It’s a technique that lasts-6 weeks before you’ll need to either reapply or remove the extensions. It’s an easy-to-apply method, feels natural to the touch and lies flat. However, it lacks the flexibility of other types of hair extensions.
Ideal for: Short or thin hair.
2. Cold Fusion, I-Tip or Micro-Link
In this case, the hair extensions are applied strand by strand and are attached to the natural hair with the use of micro-cylinders. You can expect them to last 8-10 weeks. After that, you’ll need to have them tightened again to avoid breakage.
The great thing about this technique is that you can add highlighted extensions with no fuss and without dying and burdening your natural hair with any chemical procedures! It also doesn’t need heat, chemicals or glue, which makes it easier on natural hair, and is very flexible, although it doesn’t come too cheap.
Ideal for: All hair types!
3. Hot Fusion, U-Tip or Keratin
Again, the hair extensions are applied strand by strand, only, this time, the stylist uses a heating tool that allows them to melt the extension and the natural hair together. If you choose this technique, you can have your extensions for up to 6 months, but you will need to remove them in about 2 months’ time to avoid stressing your new hair and prevent matting and breakage. Although it is a very flexible technique, it has to be applied properly, or you may damage your natural hair from the glue and heat.
Ideal for: All hair types!
4. Braided Sew-In or Hair Weave
There are two ways to do this: with a full sew-in or partial sew-in. In the first case, the stylist weaves all your natural hair into small braids against the scalp. Then, these braids are used as the basis to sew the extensions on them using a needle and thread. That way, you protect your natural hair from daily maintenance and heat damage.
In the partial sew-in, some of your natural hair are left out and not woven into braids. This means that you may still need to flat iron or blow dry the hair that’s left out to blend it with the hair extensions. You can enjoy these extensions for about 8 weeks.
Ideal for: Textured or coarse hair.
5. Braidless or Beaded Sew-In
Every strand of your natural hair is looped through micro-cylinder beads to create a base against the scalp. Then, the hair extensions are sewn into the beads. Before you need to have them tightened, you can have your extensions for 4-6 weeks, more or less.
It’s a fab technique that allows your hair to lay flat and look very natural with the extensions. Also, it’s a procedure that’s done in about an hour and gives you much flexibility in movement, too!
Ideal for: Medium-to-long hair that wants more length or volume or hair that lies flat quite effortlessly (without excessive heat or relaxers).
6. Clip-in Hair Extensions
This method is perfect for those that want to add length or volume to their natural hair and have full control of when to wear their extensions, which just clip in the natural hair. If you take good care of your extensions, you can have them for up to 12 months. Plus, you can curl and color the clip-ins! It’s the cheapest way to go, too!
Ideal for: First-timers and women that don’t yet know what color or length they want their extensions to have!
Note: It’s recommended you let a professional do the installation and removal of the clip-ins to avoid damage to your extensions and natural hair.
Do your hair extensions feel dry? Now, you CAN revive them to their old glory and shine!