 When you install a weave often you find that you have to cut some sections of the weave for styling purposes. For some ladies this involves cutting the bang area and for others this is layering the hairstyle. All this cutting can make it somewhat challenging to re-install the extensions after the first use. This is a reason why wome women choose to go with cheaper extension hair over good quality virgin hair. In these instances, turning your extensions into wigs is an ideal solution.
Making your own wig for the purpose of long term protective styling can be a great investment of your time and money. Here are the benefits of making your own U part wig:
- You can reduce your installation and removal time to less than half of a traditional weave.
- You are no longer limited to the styles of wigs, hair types and textures available at the stores. You can let your imagination run wild and create your very own unique install.
- You can either sew in your wig or you can clip it in like a traditional wig.
- You can get a wig that has more volume than shop bought wigs.
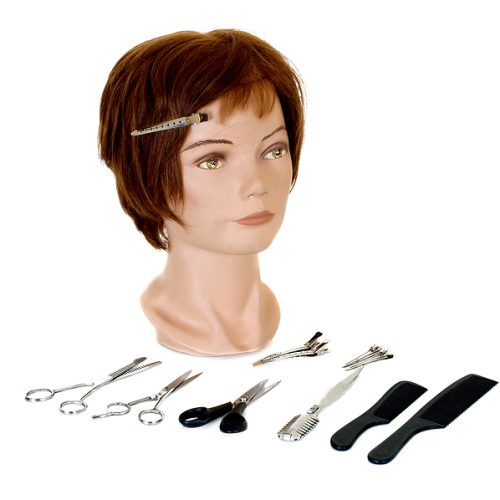
You will need: 2 packs of hair extensions, a mannequin head, a wig net or dome cap (preferably elasticated), sewing needle and thread, hair shears, white pencil/soft pastel pencil, wig clips (optional)
1. Place the dome cap or wig net on your own head and using the pencil mark out the section where you want your U part for your leave out hair to be. Place the wig net onto the mannequin head and place it at a comfortable height for you to work.
2. Starting at the nape are of the wig head, begin to sew in the extensions. Depending on the texture of the hair you are installing decide on the spacing of the tracks. Curlier textures should be very well spaced out at the back to minimize tangling.
3. Continue to sew in the hair until you get close to the top.
4. Near the crown area, adjust your track placement so that they are enclosing the U shape that you made at the top. This is to allow your own heave out hair to cover the tracks on the wig.
5. Reinforce the stitches around the U part to prevent unravelling when you cut off the excess net.
6. Comb the hair to remove tangles, if the hair that you are using is curly then just finger comb it.
7. Style the hair to your heart’s desire by trimming, cutting layers to frame your face or to give straight extensions more body and movement.
8. Using the shears, carefully trim the excess net around the U part.
9. If you are using wig clips, sew them in on the inside of your wig.
Now you can install your wig by either sewing it in onto a perimeter braid around your head or you can simply clip it in with your wig clips. Simple yet very effective!


